
Hi Friends!
If you watch my hair tutorials, you’ve probably seen me using the Eva Surfs Up! Texture Spray a lot. It’s one of my go-to essentials for high volume hair in seconds. So, I figured it’s worth a bloggy post to let you in on something that actually works and doesn’t waste your money, thoughts?! (Also this is not sponsored in any way, just one of my golditricks that gives you that “instagram hair”. Stick around and scroll down to see a texture spray inspired GLL hairstyle!)
PROS: My favorite part about the spray is how light it is – in fact, you can barely feel that you sprayed anything in at all! Unlike some sprays, there is no sticky residue and your hair doesn’t get hard to brush through or work with. It does give your hair a slight matte finish, but that in my opinion, makes it look big, beachy, and gives it great texture. It seriously makes my hair feel so much thicker just by spraying it in and using my fingers to style. Also, it smells heavenly, which we all know is very important and keeps me coming back to purchase more! Which, speaking of that, it’s only $11.99 a bottle at Ulta – which is my favorite part!! I happen to love texture and sea salt sprays and this is half the price of most of the expensive ones that work really well. Half the price, same results?! I’ll take it.
CONS: There is obviously a time and a place for big, beachy hair. This texture spray can sometimes help contribute to the messy look so make sure that if you want texture along with neatness, you should use a brush or style accordingly.

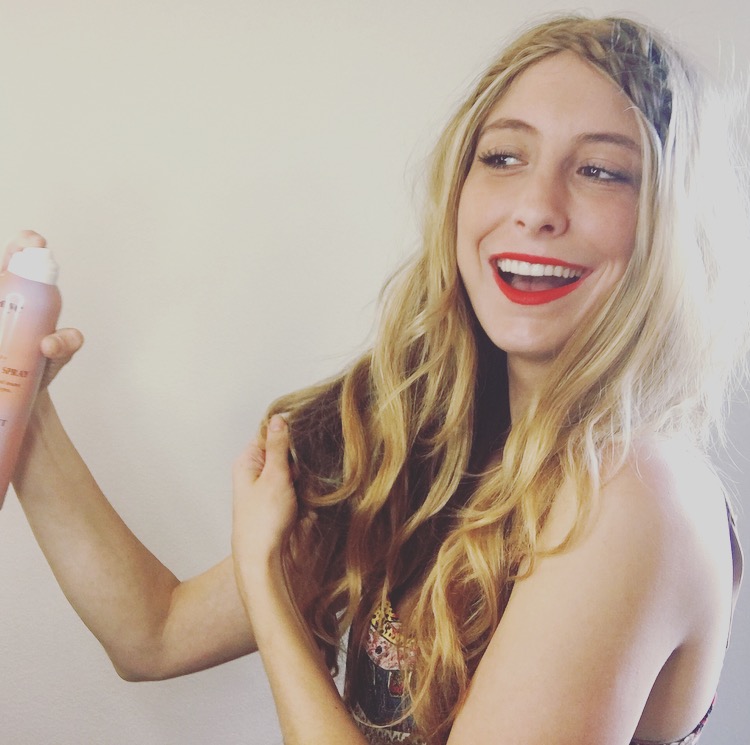
PHOTO: This is the before and after of using the texture spray and using my fingers to scrunch up my hair a little. You can see how it just instantly gives it that beachy texture and volume!
SURFS UP! TEXTURE SPRAY INSPIRED GLL HAIRSTYLE:

Here are the steps needed to get this boho reverse fishtail headband – a perfect hairstyle to do with your texture spray! These are the supplies you’ll need to get started: some bobby pins, elastics, texture spray, and a curling iron/heat protectant if you want to add some waves. Today I’m using my 25 mm NuMe Wand, Bain De Terre Magnolia Thermal Iron Protector, and obviously the Eva NYC Surfs Up! Texture Spray. Also, I am wearing a few of myLuxy Hairextension wefts. These are the BEST because they are so easy and convenient to clip in and look so beyond real. Use code “GOLDI” for $5 off your own pair.

STEP 1 – Go through and add some curls if desired. I grabbed larger pieces of hair and I didn’t curl all of the hair – just enough to get rid of the top layer of bed head I was working with. Another way to get these waves without an iron, is to sleep with your hair in french braids the night before. Make sure your hair is a little damp before braiding so the waves hold. Regardless of how you get it, this look is really pretty if you have some wavy volume in your hair.

STEP 2 – Grab a section of hair from the bottom part behind your ear.

STEP 3 – Separate that strand into two pieces for a reverse fishtail braid. If you don’t know what a reverse fishtail is, you will take a piece from the outside of the right strand, bring it behind the right strand and combine it with the left strand. Same thing on the other side – grab a piece from the outside of the left strand, bring it behind the left strand and combine it with the right strand. Keep going like this, all the way down. The trick for this look, is that I made sure to grab nice size pieces from the outside each time. Normally when doing a fishtail I would grab smaller pieces for a more intricate look, but the chunkier will make the braid a little bigger and more importantly it’s quicker to do! 😉


STEP 4 – Pancake the fishtail, pulling the strands out on both sides. This will give the braid a bigger boho feel.

STEP 5 – Pull out some pieces of hair in the front, they can be longer ones if you don’t have shorter bangs cut already.

STEP 6 – Pull the braid up and over your head. Make sure to keep the pieces of hair out in the front.

STEP 7 – Use your bobby pins to secure the braid down on the side of your head by lifting some of the back hair and pinning it right under. This will hide the braid and create the elusion that the braid disappears into your hair. Then use another bobby pin to secure the braid on top of your head for extra hold.


STEP 8 – Finally, grab your texture spray – shake & spray! Then, I always use my fingers to carefully pick apart the hair and scrunch it up, volumizing my waves.
Here’s the final look:


Lastly – if you’re anything like me and like to be able to switch your hair halfway through the day – just know, this can be quickly transformed into a beautiful, out of your face, boho ponytail!

Hope you enjoyed this post, let me know what you think! Make sure to tag any re-creations with #goldilonglocks, I’d loooove to see them!!
xox,
GOLDILONGLOCKS
Noella Van de Voorde


Leave a Reply